For my upcoming wedding a lot of DIY was involved due to a very tight budget.
I am made the signs to the wedding and the signs for the food myself.
VintageWedding & Food Signs
You will need;
Frames
Craft knife or guillotine (or just scissors)
Double sided tape
Paper with your design on it
Tea bags
Baking tray (make sure you can lye your paper flat)
Cardboard (white or cream) - for food signs
Method;
I found some cheap frames at a homewares place (House2Home).
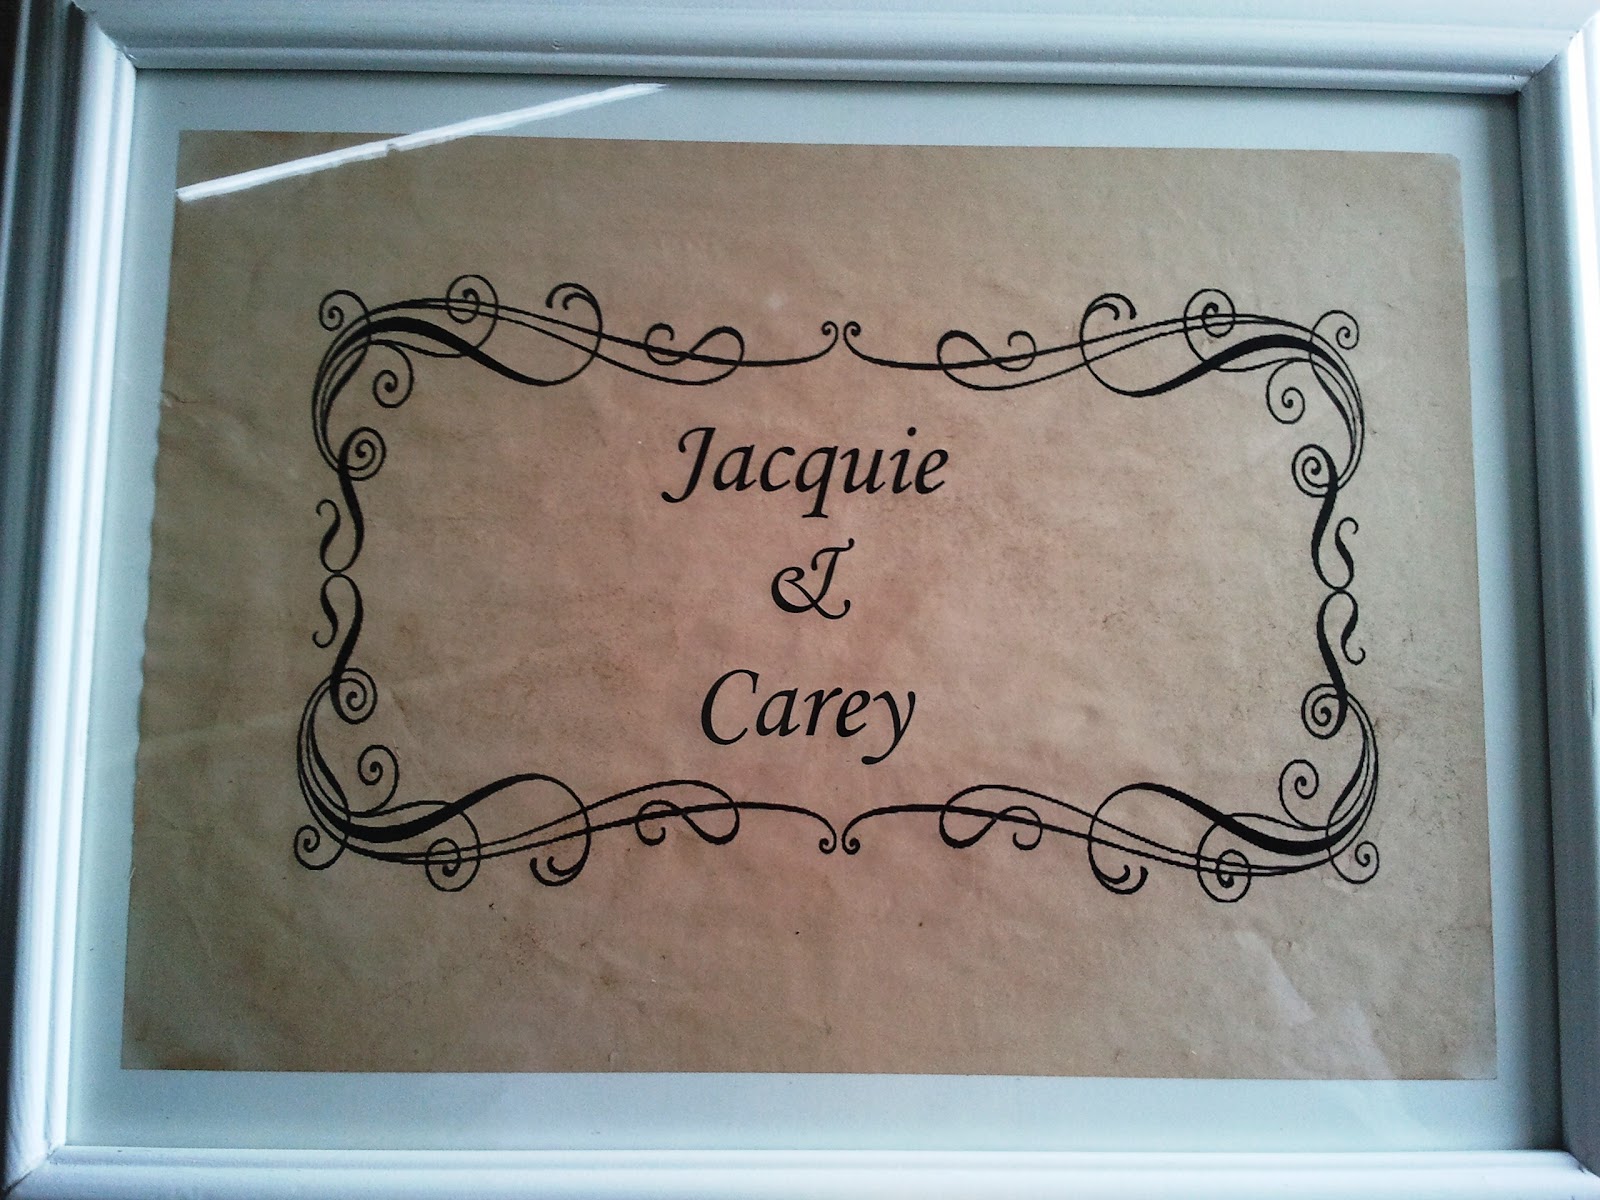
For the design on the sign I found a vintage style boarder I liked online and then copied it into a Word document. Then I added a Text Box and chose a vintage font to write what I wanted and centred it.
For the wedding signs I made them A4 size to fit the frames.
For the food signs I made them around 9cm x 4cm.
Once you have your printed signs cut the small ones out with craft knife or guillotine (or scissors if you have a very steady hand).
In the baking add some tea bags (maybe 4-6) and add water (cold or luke warm is fine) and let the tea steep until water is dark, around 10 minutes. The water should look very dark but the paper will be much lighter. Take out the tea bags.
Submerge the paper and carboard into the tea mixture and make sure if you are doing more than one at a time that they are not touching each other cause they will leave marks.
After 30mins take them out and lay flat on a towel to dry. If you want them darker then just leave in for longer. You can leave for up to 24 hours, just remember the paper will be very delicate when you take it out. Once it's dried put in between book pages over night to flatten.
Once flat and dry the wedding signs can be put into the frames (use double sided tape so that it doesn't move around).
Attached the food signs to the cardboard with double sided tape - you want enough room above the sign to fold over to make it stand up. Use the guillotine to cut sides and bottom to size. Fold in the middle and there you have it!
You can do something similar with food toppers by sticking the two sides of the sign onto a toothpick (picture below from
Sweetly Scrapped Art, where we got ours).


.JPG)


