Showing posts with label chocolate. Show all posts

Wednesday, 18 December 2024

Chocolate Holiday Bark

Chocolate bark is a lovely gift for the holidays! You can use whatever nuts and fruits you like or have on hand. We save peppermint bark for after the holidays since the candy canes are on the tree ;)

I made three batches, which used three trays and 6 packets of chocolate chips. These were gifts for 30 coworkers.


Chocolate Holiday Bark

Ingredients

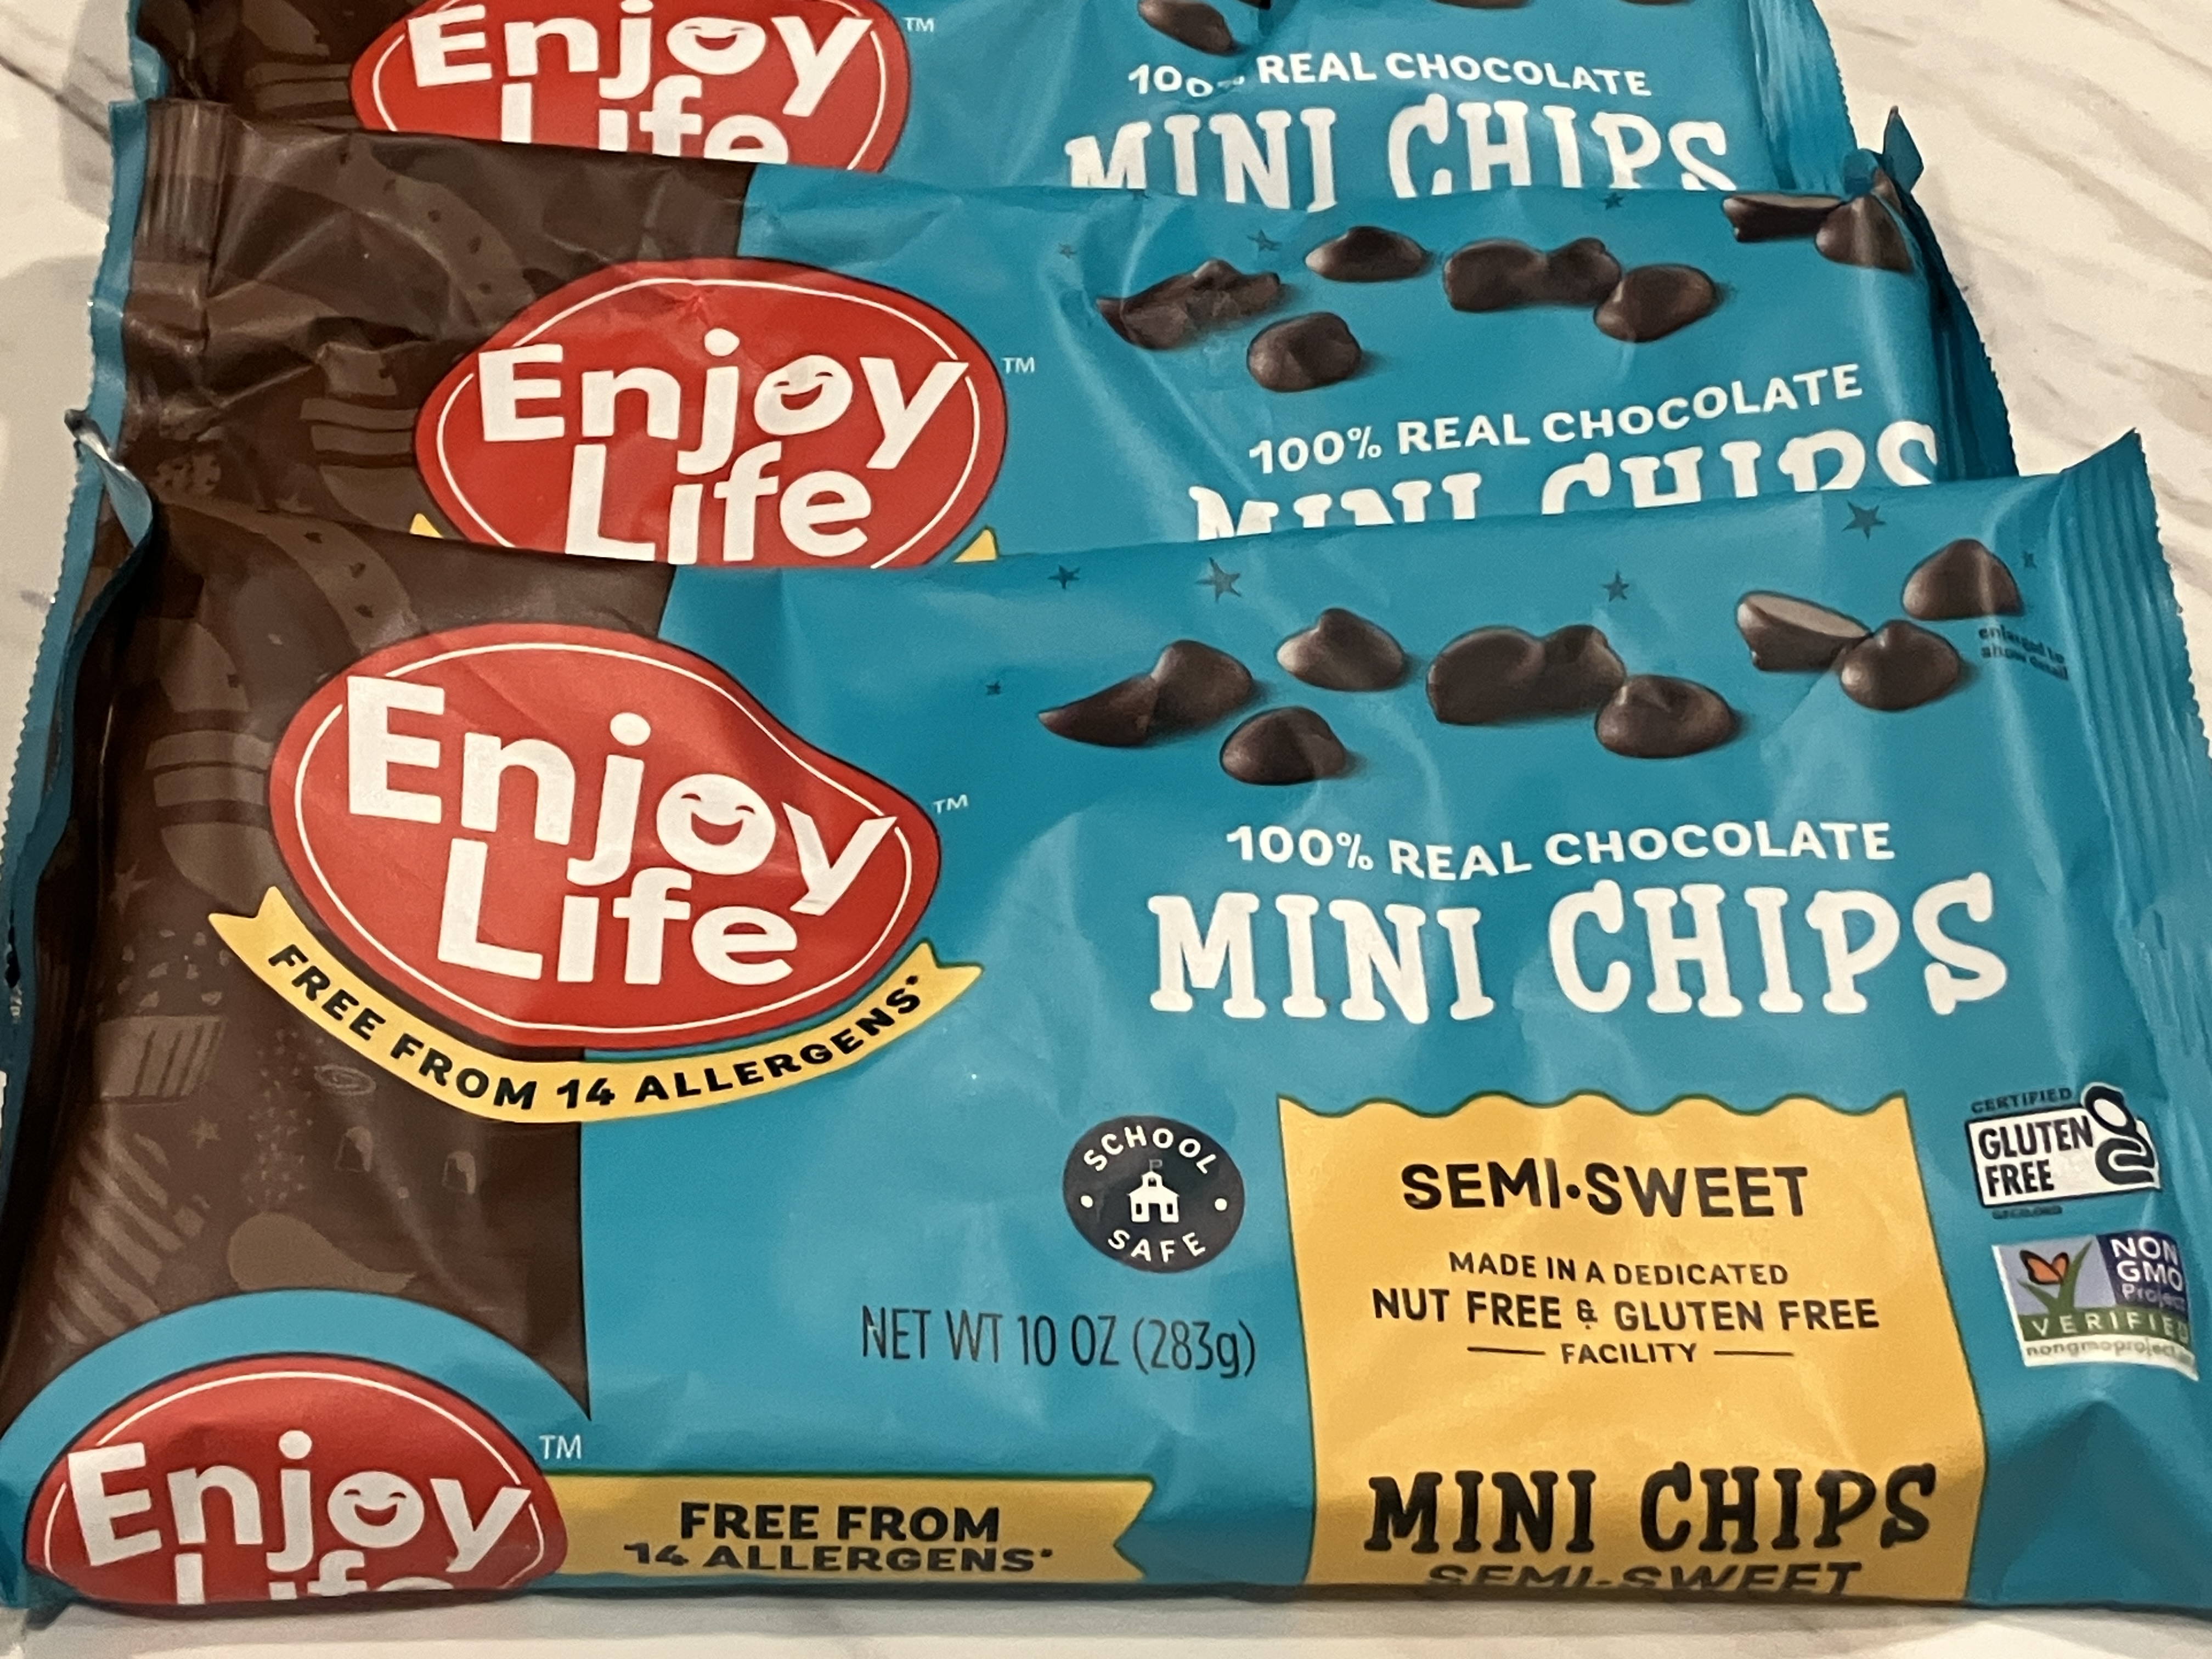
Vegan choc chips of choice (I used Enjoy Life)-2 10oz bags for each large cookie tray.

Pistachio pieces 

Slivered almonds or almond pieces

Pine nuts

Cranberries

Dried apricot 

Pecans pieces


Method

Line your tray with parchment or wax paper.

Have your ingredients ready to go.


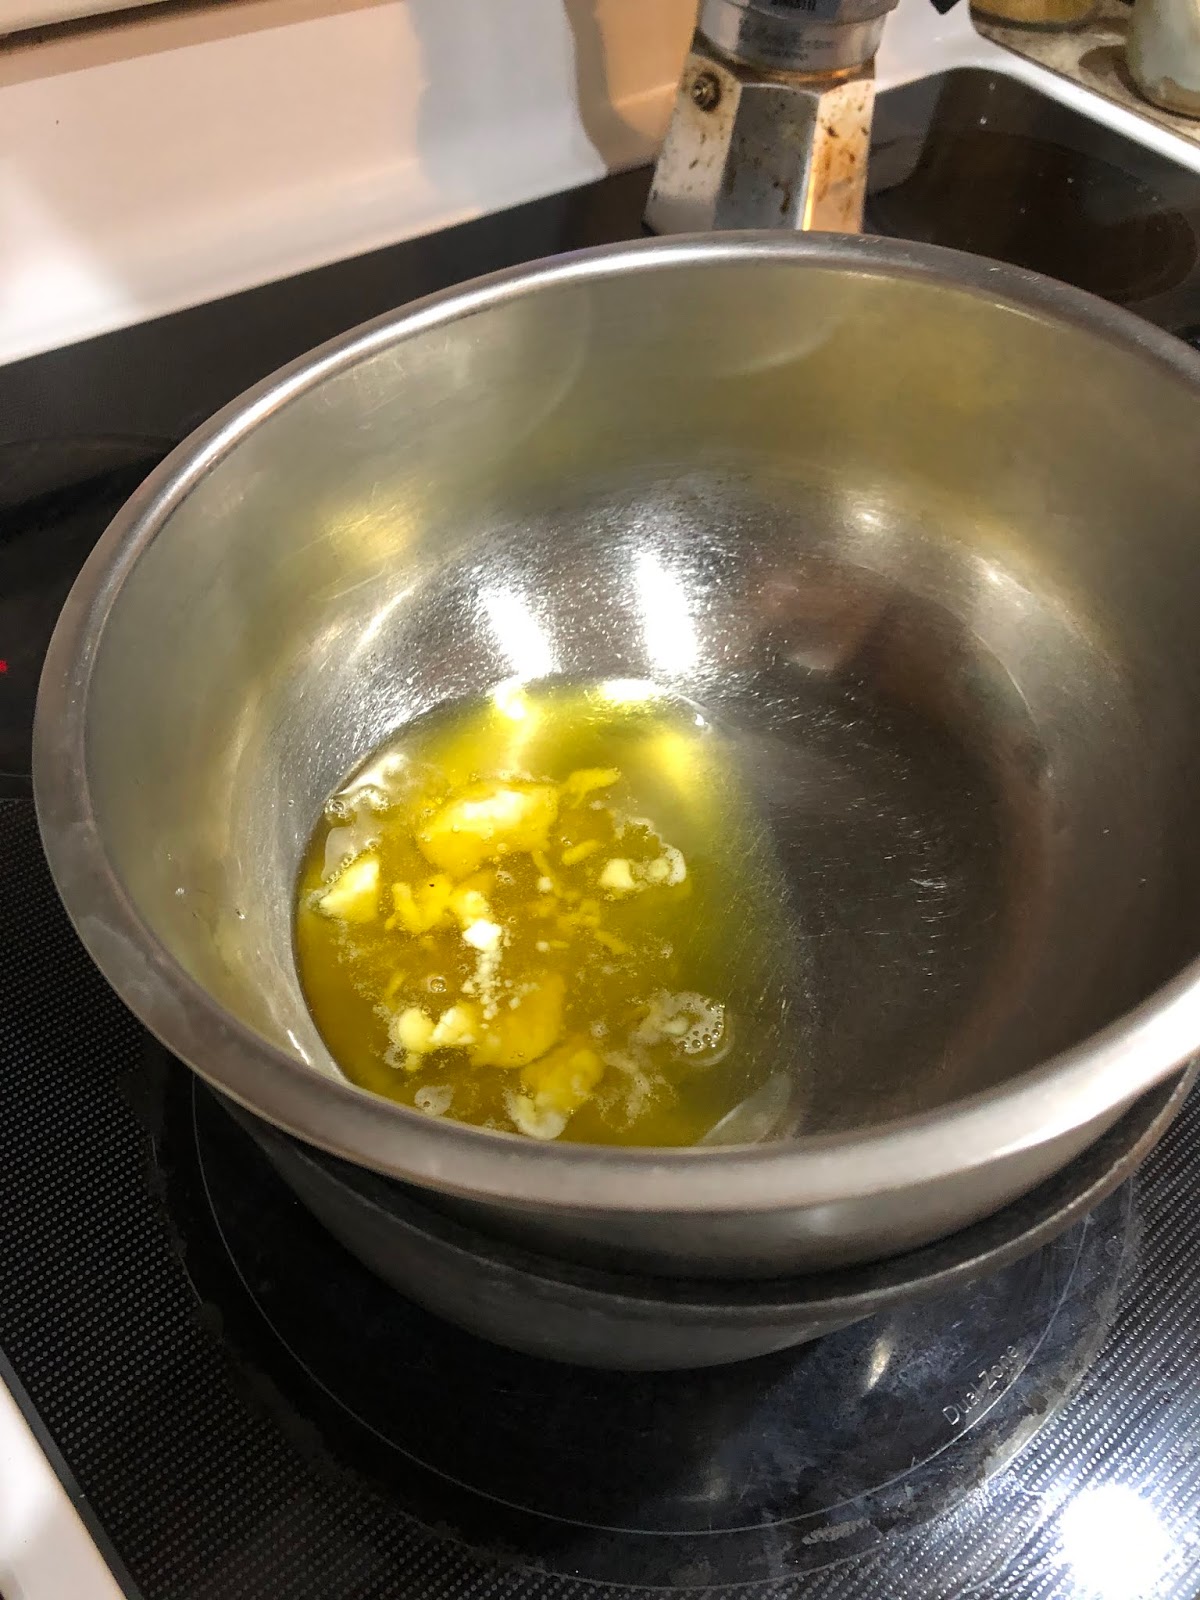
Use a double broiler or a stainless steel bowl that fits snuggly over a saucepan full of boiling water.
Once water is boiled add chocolate chips to bowl and stir occasionally until completely melted.


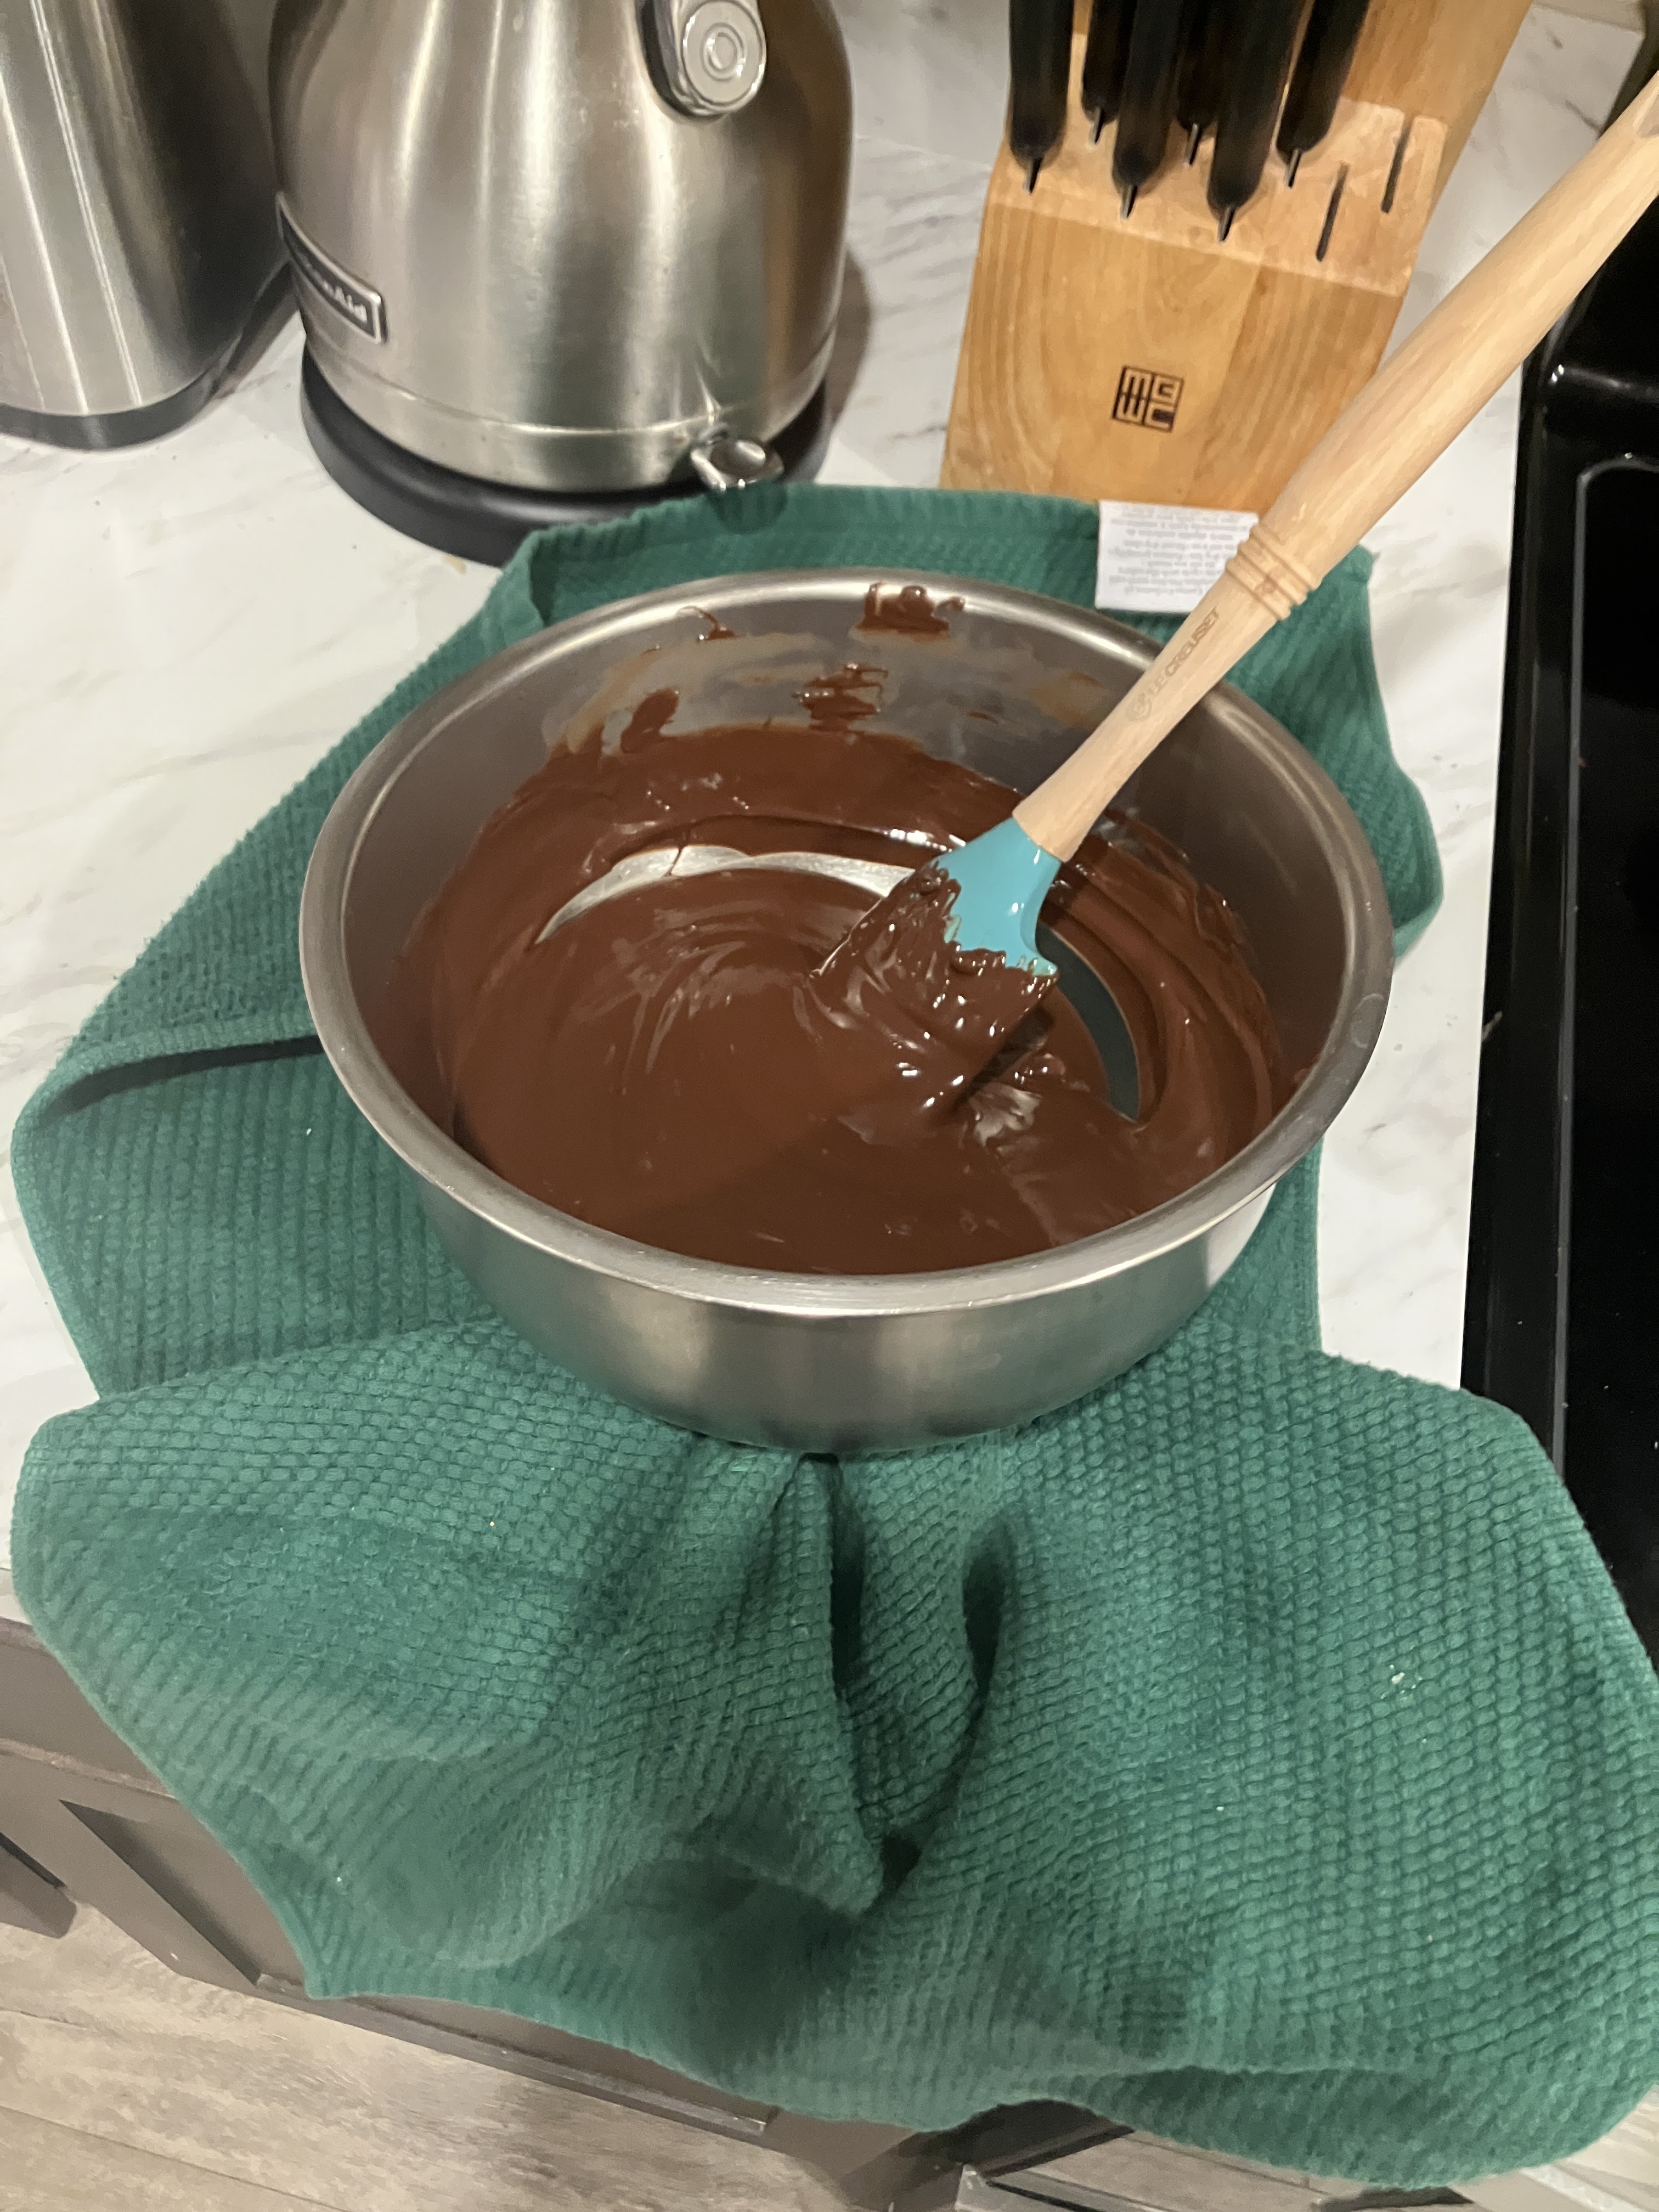
Remove from stove and wipe any condensation off the bowl with a hand towel. If water gets into the chocolate it will become grainy.


Pour directly onto your lined tray and smooth out with your spatula.
Sprinkle your ingredients over the bark and once you're happy with it transfer it to the refrigerator for 10 minutes. Once completely hardened you can take out of the fridge and use the parchment paper underneath to flip up the edges and crack the chocolate into pieces for serving or packing. You can always 


This is how I packaged it - in sealable bags with a handmade gift tag.


With a fancy vegan white chocolate drizzle.


Wednesday, 7 August 2024

Chocolate Pear Pudding

Original recipe by Nigella Lawson :) I didn't use the chocolate sauce when I made it but I left it in the original recipe for optional indulgence!


Chocolate Pear Pudding
Ingredients

For pudding;
830g pear halves in juice (2 cans)
125g GF flour
25g cocoa powder
125g vegan sugar
150g vegan butter
1 tsp baking powder
¼ tsp bicarbonate of soda
2 egg replacers or 1/4 cup apple sauce
2 tsp vanilla extract

For chocolate sauce (optional)
200g vegan dark chocolate pieces
120ml 1 teaspoon instant coffee made up with ½cup boiling water
90g vegan sugar
120ml vegan cream/coconut cream


Method
Preheat the oven to 200°C/400ºF and grease a 22cm / 8½ inch square ovenproof
dish with vegan butter.
Drain the pears well and arrange them on the base of the dish.
Put all the remaining ingredients in a food processor and blitz until smooth, or use a hand held mixer.
Spread the brown batter over the pears, and bake in the oven for 30 minutes.
Let stand out of the oven for 5 or 10 minutes and then cut into slabs and serve with chocolate sauce.
To make the chocolate sauce, place the chocolate pieces in a heavy based saucepan with the coffee and
sugar and melt over a low heat, stirring occasionally.
Once it has nearly melted stir in the cream, and once it has made a smooth sauce take off the heat and
pour into a jug.


Monday, 20 November 2023

Chocolate Pie

 I found this recipe that didn’t use tofu, because I didn’t have any. I used a premade vegan GF graham cracker crust I had got on sale and the filling took all of 5-10mins to make. Just needs a few hours to set. It was ma HUGE hit! Tasted like chocolate mouse :)

Original recipe from One Lovely Life. Original Graham Cracker Crust recipe from Sugar Spun Run.


Chocolate Pie

Ingredients

3 Tbsp unsweetened cocoa powder
4 Tbsp cornstarch or arrowroot
1/3 cup coconut sugar (or white sugar)
1 (13oz) can full-fat coconut milk
1 cup unsweetened almond milk
2/3 cup dairy-free chocolate chips
1 tsp vanilla extract
1/8 tsp. salt

Premade Graham Cracker Crust (recipe below)

Toppings (optional) 
Dairy-Free Whipped Topping (Like CocoWhip, TruWhip Vegan, or Reddi-Wip almond or coconut)
Dairy-Free Shaved chocolate, chocolate chunks, or mini chocolate chips.


Method

In a medium saucepan, whisk together cocoa powder, cornstarch, and coconut sugar. Pour in coconut milk and almond milk.
Bring the mixture up to a boil, whisking constantly to help avoid lumps.
Boil 2-3 minutes, or until mixture is visibly thicker. (You want it to really thicken.)
Remove pudding from the heat and add chocolate chips, vanilla, and salt.
Whisk to combine until the chocolate chips are completely melted. (Mixture will be quite thick now.)
Remove pie crust from the refrigerator and pour in your chocolate cream filling.
Cover the pie with plastic wrap or the cover from the premade crust and chill until completely chilled through and set, at least 2-3 hours. (I love making this pie even further ahead–8-12 hours.)
When ready to serve, remove from the refrigerator and uncover. Top with whipped topping and shaved chocolate, as desired. Note: the surface of the pie may crack as it chills. This is totally fine. That’s what whipped cream is for!


Graham Cracker Crust

Ingredients


1 ½ cups (170 g) vegan GF graham cracker crumbs (or 11 graham cracker sheets pulverized to crumbs in a food processor)

2 Tablespoons vegan sugar

1 Tablespoons vegan brown sugar packed

7 Tablespoons (100 g) vegan butter melted


Method


Pulverize graham crackers in food processor until finely ground into crumbs (skip this step if starting with graham cracker crumbs). 

Stir together graham cracker crumbs and sugars in a medium-sized bowl.  

Add melted butter and use a fork to combine ingredients well until crumbs are all moistened.

Pour mixture into pie plate or springform pan.  U

se the bottom of a measuring cup to firmly pack crumbs into the bottom of the pan and (if using a pie pan) gently press up the sides.  

Use your fingers to pack crumbs tightly into the sides of the pie pan.

If the crust needs to be pre-baked, bake on 350F (175C) for 10-13 minutes and allow to cool before filling. 

If using this crust as part of a different recipe, bake according to your recipe's instructions.  

If this crust is for a no-bake recipe, refrigerate or freeze for 10-20 minutes before filling.


Monday, 14 November 2022

Mint Patties/Mint Slice Biscuits

These are very easy to make and you could make mint slice biscuits too by adding the chocolate biscuit component! Recipe from Vegan In The Freezer. I thought they could use a bit more peppermint flavour so next time I think maybe 6-8 drops.


Mint Patties

Ingredients

2 cup Powdered Sugar, vegan/organic
1/2 cup Coconut Oil (melted)
4 teaspoons Peppermint Extract (food grade)
2 cups chocolate of your choice for dipping.
2 tablespoon extra of coconut oil to mix in with the chocolate.


Method

Sift the powdered sugar into a large bowl.
Add the 1/4 cup melted oil and the peppermint extract.
Mix with a hand mixer until smooth.
Get a large container or tray and line with freezer paper.
Take 1 Tbls of mixture and form a ball and then press down to form your pattie shape.
Once all mixture is used put in the freezer for about 15-30 minutes or so until it hardens a bit.
Melt the chocolate over a double broiler (I just use a stainless steel bowl that fits over a saucepan of boiling water.
Stir in the 1 Tablespoon of extra oil for thinning the chocolate a bit.
Take the mint rounds out of the freezer.
Pop one mint at a time into the melted chocolate and use a fork (or two) to coat and then using the fork place on the parchment paper.
To avoid having extra chocolate form under the pattie you can place on a cookie rack.
Place all patties into the fridge for 30 minutes or until chocolate is hard.
You can then double dip them if you like.
Once they are all hard I place them in a container in the freezer.
They take hardly any time to defrost and frankly taste pretty good straight out of the freezer!

Wednesday, 8 April 2020

Homemade Chocolate

Traditional chocolate is super easy to make - it only has three ingredients; cocoa butter, cocoa powder & sugar. Everything else is extra. Original base recipe from Sweet Simple Vegan.

I wanted to use my Easter egg molds that I never use and since we are stuck at home for Easter (the old COVID-19 pandemic) and I knew I had the ingredients I thought lets give this another go. I had tried making my own chocolate before but didn't like the way it turned out. This recipe was enough for all my egg molds plus a bit extra to join them together. What extras you add if really only as limitless as your imagination. I used rose water infused rose petals, rum infused raisins, salty crushed peanuts and sprinkles but I love the idea of mint essential oil or chili powder for variety also!


Homemade Chocolate 

Ingredients

1 2/3 cup raw cacao butter
9 Tbls maple syrup (or liquid sweetener of choice)
1 1/2 tsp vanilla extract
1/2 teaspoon Pink Himalayan salt
1 2/3 cup cacao powder


Method

In a double broiler* melt your cocoa butter.


While that's melting prep your molds, whatever you're using make sure it's on a flat tray that can be easily transferred to the fridge.
Add into the mold any extras you want to change your chocolate flavor (I used rose water infused rose petals, rum infused raisins, salty crushed peanuts and sprinkles).
Once melted take off melted cocoa butter from stove and place on a heat proof surface or pot holder.
Add in the maple syrup, vanilla extract and salt and whisk together.
Lastly whisk in your cocoa powder making sure you sift it into the bowl. This will make a huge difference to smooth vs lumpy chocolate.
Pour chocolate into desired molds and  place in refrigerator for at least 20 minutes.
If using egg molds like I was that need to be melded together you can do this two ways.
1. Just fill one tray first (make sure the other tray mirrors your extras) and once hardened fill the second tray and place the first harden tray upside down on top to they fuse together when cooling.
2. Fill all trays, wait till hardened then use a small amount of chocolate mix to fuse together and harden again in fridge.


Note
*A double boiler is very easy to make if you haven’t got a specific one, just heat sauce pan of half filled with water until boiling then bring it down to medium heat and place on top of stainless steel bowl or sauce pan that fits perfectly on top inserting a little bit without touching the water. This will help you melt butter or chocolate etc without burning it.

Monday, 6 April 2020

Individual Chocolate Cakes

Thank you to Allergylicious for this lovely recipe. I don't think these taste like donuts so I used a silicon mold I thought would represent the right shape at least. So yes, mine are more like individual cakes and not donuts but still delicious!


Chocolate Glazed Donuts

Ingredients

Chocolate Donuts Recipe:
2 1/2 cups 1-to-1 gluten-free flour (or sub in All-Purpose Flour)*
1 cup vegan cane sugar
3 tablespoons cocoa powder
2 teaspoons espresso powder (optional, or sub with more cocoa powder)
1 teaspoon baking soda
1 teaspoon salt
1 1/2 cups dairy-free milk (we used flax milk)
1/4 cup vegetable oil
 1/4 cup white vinegar
1 teaspoon vanilla extract

Chocolate Glaze:
1 cup vegan powdered sugar
2 tablespoons melted vegan butter
2-3 tablespoon non-dairy milk
1 tablespoon brown rice syrup (I used Golden Syrup)
1/2 cup vegan chocolate chips


Method

Chocolate Donut Recipe:
Preheat oven to 350°.  Prepare your mold by lightly spraying with vegetable oil.
In a large mixing bowl, whisk together all your dry ingredients; flour, sugar, cocoa, espresso, baking soda and salt.
In a medium sized bowl, whisk together milk, oil, vinegar and vanilla.
Pour the wet ingredients into the dry and whisk to incorporate together (you can also use a hand mixer if you prefer.

Spoon batter into prepared pan then bake 10-12 minutes.
Allow to cool 5 minutes before removing from pan and placing on a baking rack.
Let cool completely then spoon on
 the chocolate glaze.  Add sprinkles if desired.

Make your Glaze:
Pour melted butter, milk, corn syrup and melted chocolate into a bowl with your powdered sugar.  Blend with your hand mixer until smooth.


Friday, 17 August 2018

Black Bean Brownies

Original recipe from Minimalist Baker. A hit with all the kids!


Black Bean Brownies

Ingredients

425 g can black beans, well rinsed and drained (I used fresh cooked beans around 1 3/4 cups)
2 large flax eggs (2 heaping Tbsp flaxseed meal + 6 Tbsp water)
3 Tbsp coconut oil, melted (or sub other oil of choice)
3/4 cup cocoa powder (I used carob powder because I was cooking them for my toddler)
1/4 tsp sea salt
1 tsp pure vanilla extract
Heaped 1/2 cup (105 g) organic cane sugar, finely ground. (I used coconut palm sugar)
1 1/2 tsp baking powder
Optional toppings: crush walnuts, pecans, or dairy-free semisweet chocolate chips (I used hazelnuts)


Method

Preheat oven to 350 degrees F (176 C).
Lightly grease a 12-slot standard size muffin pan (I used a silicon friand tray).
Prepare flax egg by combining flax and water in the bowl of the food processor. Pulse a couple times and then let rest for a few minutes.
Add remaining ingredients (besides walnuts or other toppings) and puree - about 3 minutes - scraping down sides as needed until smooth.
Spoon into muffin tray with room at the top for rising.
Sprinkle with crushed nuts or chocolate chips.
Bake for 25 minutes or until the tops are dry and the edges start to pull away from the sides.
Remove from oven and let cool for 30 minutes before removing from pan.
They will be tender, so remove gently with a fork.
The insides are meant to be fudgy.
Store in fridge or freezer.

Tuesday, 20 February 2018

Chocolate Hazelnut Balls


Chocolate Hazelnut Balls

Ingredients

2 cups medool dates, seeded and chopped
1/3 cup Roasted Hazelnuts
1/4 cup Cacao
1/4 cup Sunflower Seeds
2 Tbls shredded coconut
1/2 cup shredded coconut for coating.


Method

Place all ingredients except 1/2 cup coconut into a food processor and blitz until well combined and nuts are chopped.
Form 1 Tbls mixture into a ball, roll in coconut and place on a cooking sheet.
Repeat until all mixture is gone and refrigerate for 30 minutes.
You can freeze these as well :)

Sunday, 17 December 2017

Black Forest Cupcakes

Got this original recipe from Wallflower Kitchen who got the cake recipe from my baking idol Nigella Lawson...
Coconut Cream recipe by Minimalist Baker.


Black Forest Cupcakes

Ingredients.
175 g all-purpose gluten-free flour
1 tsp bicarbonate soda
A pinch of salt
50 g cocoa powder
225 g coconut sugar (vegan brown or regular sugar will work too)
275 ml hot water
60 ml sunflower oil or other mild-tasting vegetable oil
2 tsp apple cider vinegar

Filling

Black cherry jam I used a fruit-sweetened one
optional A few drops of Kirsch or brandy

Topping

Whipped coconut cream* (I added a bot of liqueur to this too)
Fresh cherries (I soaked mine in the alcohol)
Dark chocolate grated


Method

To make the chocolate cupcakes
Preheat the oven to 180c. / 350f. and line a muffin tray with 12 cases.
Mix the first five ingredients together until well combined.
Stir in the remaining wet ingredients until the mixture is smooth and lump-free.
I mixed together the filling ans swirled it into the mixture before baking but if you want the filling in the middle of the cupcake filling the after baking instructions.
Divide the mixture equally between the 12 muffin cases/or greesed tin and bake for 15 minutes.
Use a cake tester or skewer to test the middle of the cupcakes come out clean.
If not, bake for a further 5 minutes.
Leave to cool before decorating.
If filling with jam, then cut small holes in the centre of the cupcakes. You can use a cupcake corer, apple corer or a small sharp knife to hollow out the centres.
Fill the cupcake holes with the cherry jam (and Kirsch, if using).
Make the coconut whipped cream, according to these instructions, then pipe or dollop onto the tops of the cupcakes.
Decorate with a single cherry then serve!
These are best kept refrigerated and can be stored for up to 3-4 days.


* Coconut Cream

1 14-ounce can (414 ml) coconut cream or full fat coconut milk*
1/4 - 3/4 cup (28 - 84g) icing/powdered sugar (use organic to ensure vegan friendliness)
optional: 1/2 tsp vanilla extract

Chill your coconut cream or coconut milk in the refrigerator overnight, being sure not to shake or tip the can to encourage separation of the cream and liquid. See notes for more insight / troubleshooting.
The next day, chill a large mixing bowl 10 minutes before whipping.
Remove the coconut cream or milk from the fridge without tipping or shaking and remove the lid. Scrape out the top, thickened cream and leave the liquid behind (reserve for use in smoothies).
Note: if your coconut milk didn't harden, you probably just got a dud can without the right fat content. In that case, you can try to salvage it with a bit of tapioca flour - 1 to 4 Tbsp - during the whipping process. That has worked for me several times.
Place hardened cream in your chilled mixing bowl. Beat for 30 seconds with a mixer until creamy. Then add vanilla (optional) and powdered sugar and mix until creamy and smooth - about 1 minute. Taste and adjust sweetness as needed.
Use immediately or refrigerate - it will harden and set in the fridge the longer it's chilled. Will keep for up to 1 - 2 weeks!


I found this fruit juice sweetened jam at Walmart.


Sunday, 24 September 2017

GF Vegan Tim Tams

If you don't know what a Tim Tam is then you're obviously not Australian or don't know many ;)
Tim Tams are a chocolate coated chocolate cookie with a layer of chocolate cream in the center. Sounds pretty good? You have no idea, I've hooked more Americans on these things that I care to say but the non-vegan Arnott's variety is available at World Market. When you've successfully done a Tim Tam Slam* you can call yourself an Aussie ;)
Veganized from the recipe on Gluten Free Table. I think next time I would use a harder cookie base (I like to dunk in my tea), these were a bit soft, definitely needed to be kept in the fridge or freezer...but who doesn't love a cold Tim Tam! These didn't exactly taste like Tim Tams but they were sugary goodness which is really all you're after!


GF Vegan Tim Tams

Ingredients for cookie
115 g vegan butter, softened
1/2 cup (115 grams) vegan fine grain sugar
1 egg replacer
1/4 cup (30 grams) unsweetened cocoa powder
1 cup (150 grams) gluten free all purpose flour
Pinch of salt

Ingredients for Filling
115 g vegan butter, softened
1 cup (125 grams) vegan powdered/icing sugar
1 Tbls cocoa powder
1 tablespoon vanilla bean paste

Ingredients for Coating 
100 grams milk chocolate
100 grams 70% dark chocolate
1 Tbls coconut oil


Method
First make the cookie.
Using an electric mixer, beat butter and sugar for 5 minutes or until light and fluffy.
Add egg replacer and beat until combined (mixture may curdle).
Sift flour, cocoa powder and salt over butter mixture and beat until combined.
If the dough is too soft, add 1/4 cup additional flour and beat to combine.
Repeat this process until the dough comes together and can be handled.


Place the dough onto a piece of non-stick baking paper on a work surface, top with another piece of baking paper, and roll out into a large rectangle about 0.5cm thick.


Put the dough on a tray and place in the freezer for 30 minutes.
Preheat oven to 180°C/350F. and line two baking sheets with non-stick paper.
Take the dough from the freezer and using a small sharp knife, cut into 3cm x 5cm (1.5x2") rectangles.


Re-roll scraps and repeat to make 28 rectangles.
Separate the rectangles and spread them out on the lined baking trays.
Bake for 8 to 10 minutes.
Stand on trays for 10 minutes.
Transfer to a wire rack to cool completely.
Next make the filling.
Use an electric mixer to beat icing sugar, cocoa, vanilla paste and butter until light and fluffy. Sandwich biscuits together using 1 1/2 teaspoons chocolate mixture. Refrigerate for 20 minutes.


Lastly make the coating.
Place milk chocolate and dark chocolate and coconut oil in a heatproof, microwave safe bowl or a double broiler. Microwave on medium for 2 to 3 minutes, stirring every 30 seconds with a metal spoon, or until melted and smooth.
Place a sandwiched biscuit on a wire rack set over a baking tray lined with baking paper.
Dip the sides of each biscuit in chocolate mixture and place on rack.
Pour 1 tablespoon melted chocolate over each biscuit to cover.
Set aside for 1 hour or until set (see note).


*The Tim Tam Slam
This is what Australian call a Tim Tam move where you bite both ends off the cookie and then suck your tea (coffee) through the cookie like a straw. The cookie will become gooey and the chocolate will melt slightly. It's sheer heaven but don't suck too long or your Tim Tam will fall into the depths of your tea ;)

Wednesday, 21 September 2016

Darkest Chocolate Cake

This one come courtesy of  Nigella Lawon's "Dark and Sumptuous Chocolate Cake"newest book Simply Nigella. This is the first recipe I used because I was so excited about it and it's dark bitter chocolatey goodness...


Darkest Chocolate Cake

Ingredients

225 grams gf plain flour
1½ teaspoons bicarbonate of soda
½ teaspoon fine sea salt
1½ teaspoons instant espresso powder
75 grams cocoa
300 grams soft dark brown sugar
375 millilitres hot water from a recently boiled kettle
75 grams coconut oil (90ml)
1½ teaspoons cider vinegar or white wine vinegar
1 tablespoon edible rose petals or flowers (optional)
1 tablespoon chopped pistachios (optional)

Icing

60 millilitres cold water
75 grams coconut butter (this is not the same as oil)
50 grams soft dark sugar
1½ teaspoons instant espresso powder
1½ tablespoons cocoa
150 grams dark chocolate (min. 70% cocoa solids, see Intro), finely chopped


Method

You will need a 20cm/8in round springform cake tin.
Start with the icing, though first preheat the oven to 180°C/350°F/gas mark 4 and pop in a baking sheet at the same time.
Put all of the icing ingredients except the chopped chocolate into a heavy-based saucepan and bring to the boil, making sure everything’s dissolved.
Then turn off the heat – but leave the pan on the hob – then quickly add the finely chopped chocolate and swirl the pan so that it is all underwater, so to speak.
Leave for a minute, then whisk until you have a darkly glossy icing, and leave to cool.
Give the icing a stir with a spatula every now and again.
Line the bottom of your springform cake tin (you will need a good, leakproof one as this is a very wet batter) with baking parchment.
Put the flour, bicarb, salt and instant espresso and cocoa in a bowl and fork to mix.
Mix together the sugar, water, coconut oil and vinegar until the coconut oil has melted, and stir into the dry ingredients, then pour into the prepared tin and bake for 35 minutes. Though do check at the 30-minute mark to see if it is already done.
When it's ready, the cake will be coming away from the edges of the tin and a cake tester will come out clean, apart from a few crumbs.
This is a fudgy cake and you don't want to overdo it.
Once the cake is cooked, transfer the tin to a wire rack and let the cake cool in its tin.
Turn to your icing, and give it a good stir with a spatula to check it is at the right consistency.
It needs to be runny enough to cover the cake, but thick enough to stay (mostly) on the top.
So pour over the unmoulded cake, and use a spatula to ease the icing to the edges, if needed.
If you wish to decorate, now is the time to do it.
In which case, sprinkle with rose petals and chopped pistachios or anything else that your heart desires; otherwise, leave it gleaming darkly and, indeed, sumptuously.
Leave to stand for 30 minutes for the icing to set before slicing into the cake.


Thursday, 17 March 2016

Devil's Food Cake

I was supposed to make this for my husband for Valentine's Day but then our little Peanut arrived early and it through a spanner in our V-Day plans. So a month later I finally got around to making it. This is based on a Nigella Lawson recipe. Verdict was the cake was perfect but the icing not so much. Maybe a softer buttery icing next time.


Devil's Food Cake

Ingredients

For Cake;

50 grams best-quality cocoa powder
100 grams dark brown muscovado sugar (I used brown sugar)
250 millilitres boiling water
125 grams soft vegan butter (plus some for greasing)
150 grams vegan sugar
225 grams plain GF flour
½ teaspoon baking powder
½ teaspoon bicarbonate of soda
2 teaspoons vanilla extract
2 egg replacers (I used Follow Your Heart Vegan Egg)


For Frosting;

125 millilitres water
30 grams dark brown muscovado sugar (I used brown sugar)
175 grams unsalted butter
300 grams vegan dark chocolate (finely chopped)


Method

Preheat the oven to 180°C/350°F.
Line the bottoms of two 20cm / 8inch round sandwich tins with baking parchment and butter the sides. (I had to use the same pan in two batches.
Put the cocoa and 100g / half cup dark muscovado sugar into a bowl with a bit of space to spare, and pour in the boiling water. Whisk to mix, then set aside.
Cream the butter and caster sugar together, beating well until pale and fluffy.
In a separate bowl, stir the flour, baking powder and bicarb togetherl, and set aside for a moment.
Dribble the vanilla extract into the creamed butter and sugar – mixing all the while – then drop in 1 egg replacer, quickly followed by a scoopful of flour mixture, then the second egg replacer.
Keep mixing and incorporate the rest of the dried ingredients for the cake, then finally mix and fold in the cocoa mixture, scraping its bowl well with a spatula.
Divide the batter between the 2 prepared tins and put in the oven for about 30 minutes, or until a cake tester comes out clean.
Take the tins out and leave them on a wire rack for 5–10 minutes, before turning the cakes out to cool.
For frosting: put the water, 30g / 2 tablespoons muscovado sugar and 175g / 1 1/2 sticks butter in a pan over a low heat to melt.
When this mixture begins to bubble, take the pan off the heat and add the chopped chocolate, swirling the pan so that all the chocolate is hit with heat, then leave for a minute to melt before whisking till smooth and glossy.
Leave for about 1 hour, whisking now and again – when you’re passing the pan – by which time the cakes will be cooled, and ready for the frosting. I found this didn't by itself so I put it in the fridge and then in the microwave for 10-20 seconds before frosting the cake.
Set one of the cooled cakes, with its top side down, on a cake stand or plate, and spread with about a third of the frosting, then top that with the second cake, regular way up, and spread the remaining frosting over the top and sides, swirling away with your spatula.
I used a cookie cutter to contain the sprinkles into the heart shape, pressed them into the frosting, then removed the cutter.


Wednesday, 9 March 2016

Homemade Twix Bars

Yes, it is true. Vegan and gluten free Twix Bars!!!! They are slightly fiddly but worth it! It would be easier to make it all in one pan and then just cut it into pieces as well! Original recipe from Fork and Beans.


Homemade Twix Bars

For the cookie:

Ingredients

1/2 cup sorghum flour
1/4 cup rice flour
1/4 cup potato starch
1/4 cup tapioca starch
1 tsp xanthan gum
1/3 cup sugar
pinch of salt
4oz vegan butter (cold)


Method

Combine the flours, xanthan gum, sugar and salt together with a whisk until completely mixed.
Add butter into flour mix and with a fork/hand, cut the butter into dough until combined.
Knead dough briefly until smooth, divide in half and chill in fridge for 20 minutes.
Preheat oven at 400 degrees.
I skipped this next step by just cutting the pieces straight from the cold ball of dough.
Roll out dough between 2 pieces of parchment or wax paper until 1/2″ thick.
Cut into rectangle shapes (I used a candy mold so I have to make sure the cookies would fit inside–so I needed the cookies at 3″x1″)
Gently using a metal spatula, place cookie dough rectangles onto a parchment lined baking sheet and freeze for 15 minutes (to ensure that they will not spread in the oven).
Bake cookies for 8-10 minutes or until lightly browned.
Remove from the oven and allow to cool on the baking sheet.
Freeze the cookies while you are making the caramel.


For the caramel:

Ingredients

1/2 cup Earth Balance
1 cup sugar
1 cup coconut milk (full-fat, canned)
1/2 cup light corn syrup
1/2 tsp vanilla


Method

Line an 8 inch x 8 inch pan with parchment or cover a baking sheet with parchment
In a large saucepan (must be large enough where your candy thermometer will not touch the bottom when you attach it to the pot), put the coconut milk, sugar, butter and corn syrup in a large saucepan.
Over medium-high heat, bring to a boil stirring continually.
Keep stirring. You want the candy to reach 250 degrees.
Remove from heat and stir in vanilla.
Pour into a parchment paper lined pan (8×8 works great).
Allow to sit out for a few minutes before placing into freezer for 10 minutes to set.
Cut into rectangles with food scissors or a knife.
Wrap extras in parchment paper.


For the chocolate:

Simply melt 1-2 packets of vegan chocolate chips in a double broiler.


Putting it all together:

Place a strip of semi-hardened caramel on top of a shortbread cookie.
Place back in freezer while chocolate is melting to make sure the caramel stays hard.
Place the cookie and caramel into the chocolate bowl and using a spoon, drizzle chocolate until completely coated.
Be gentle though–the cookies will be fragile.
Set on a a piece of parchment or wax paper to allow excess chocolate to drip off.
drizzle any extra chocolate over the top of the bars for effect.
Place molds or place of candy into freezer to set for 20 minutes.

Monday, 30 November 2015

Candy Cane Chocolate Fudge

This recipe comes from Woman In Real Life, it was amazinly delicious, I made it for Xmas gifts but I really wanted to eat the whole thing myself! ;)


Candy Cane Chocolate Fudge

Ingredients

6 Tbls vegan butter (I used Earth Balance)
3 1/2 cups vegan icing/confectioners/powdered sugar
1/2 cup sifted cocoa powder
1/2 tsp peppermint flavor (I used 1/8-1/4 tsp peppermint essential oil - food grade)
1/4 cup soy milk (I used flax milk)
2 vegan candy canes (I used TruJoy brand)


Method

Line a loaf pan with parchment paper.
Place candy canes in a ziplock bag, squeeze out the air before sealing.
Crush the canes using a mallet or rolling pin.
Put butter, sugar, cocoa, peppermint and soy milk in a double broiler over simmering water and stir until smooth. I used a whisk towards the end to get rid of the bumps.
Add more milk if needed.
Once mixture is smooth quickly pour into prepared tin.
Sprinkle with the crushed candy canes and press in gently.
Chill in fridge over night.
Cut into slices or squares.


You can also use individual molds;


Sunday, 18 October 2015

Avocado Chocolate Mousse

This is a great last minute easily whipped up dessert and delicious...plus pseudo healthy ;)
This original recipe is from Food Network. I halved the recipe to two servings (but still proceeded to eat them both in one night). Shown with Soyatoo Vegan Whipped Cream and vegan chocolate shavings. Can easily be made raw.


Avocado Chocolate Mousse

Ingredients

1/2 cup vegan chocolate chips
4 very ripe (8 ounce) avocados, peeled and pitted
1/2 cup agave
1/2 cup unsweetened cocoa powder
1/3 cup almond milk
1 tablespoon pure vanilla extract
1/4 teaspoon fine salt


Method

Place the chocolate chips in a small bowl. 
Place over a small saucepan of barely simmering water. 
Stir until the chocolate is melted and smooth, about 3 minutes. 
Set aside to cool slightly.
Place the melted chocolate, avocados, agave, cocoa powder, almond milk, vanilla and salt in a food processor. 
Blend until smooth and creamy, scraping the sides of the bowl as needed.
Spoon into glasses and refrigerate for at least 3 hours (can be prepared 1 day in advance). 
Note: I waited around 30 mins and it was still fine :)

Wednesday, 5 August 2015

Chocolate Brownies

These brownies are delicious!! They seem a little not done when you take them out of the oven but once they cool down they are crunchy on the outside and fudgy on the inside. YUM! I found they harden up if you store them in the refrigerator.
This recipe comes from "Pollen" on Food.com.


Chocolate Brownies

Ingredients

2 cups GF baking flour
1 cup water
1 cup vegan brown sugar
1 cup vegan white sugar
1 teaspoon salt
1 teaspoon vanilla extract
3/4 cup cocoa powder
1/2 cup vegetable oil
1/2 teaspoon baking powder (I forgot this ingredient and mine still turned out great)
1/2 cup nuts (optional) - I used walnuts
1/2 cup chocolate chips (optional) - I used Enjoy Life Chocolate Chunks


Directions

Preheat oven to 350F and grease your 11"x7" brownie pan (I also used some parchment/baking paper)
Cook water and 1/2 cup of the flour over low heat, stirring constantly, until it reaches the consistency of a gluey paste.
Remove from heat and let cool completely.
Mix sugar, salt, vanilla, cocoa powder and vegetable oil, and then mix in the flour/water mixture.
Add the remaining 1 1/2 cups of flour, plus the baking powder and mix until smooth.
Stir through the nuts and chocolate chips if using.
Bake for 25 minutes, or until knife inserted into center of pan comes out clean.
I ended up cooking mine for 45mins before they were done but it might have been the lack of baking powder...oooops!