Sorry these actually go from July - September because I haven't had time to post.
Wild Hibiscus Flowers in syrup are something that reminds me of Christmas in Australia. The adults in my family always had them with their champagne at our Christmas gatherings. It adds a slight sweetness and the obvious aesthetic class to your usual glass of bubbly. Guaranteed to improve the taste of even the cheapest sparking wines LOL. It's made in Australia so the sugar is vegan! I have seen this in the USA in
Total Wine and
The Fresh Market.


I bought these
Eco-Kids natural finger paints for my toddler. They were pretty expensive so I was happy when I saw them on sale. They are powdered paints made from natural ingredients so you actually only end up using a small amount each time and the pouch are zip locked to keep them fresh for next time. The natural elements is great too since with toddlers they like to eat anything. The one thing I didn't like about them, and this is probably true of all naturally made paints, it was a bit gritty and although the colours came out in lovely pastel shades while painting they all dried to a greyish colour which was a bit disappointing from a keepsake point of view.
I found these dried Okra and Broccoli snacks at
Trader Joe's and loved that the only ingredients was sunflower oil, salt and the vegetable. However, although I thought they were pretty good the kids didn't love them :(
Also found at
Trader Joe's these too spreads, Bruschetta which didn't really taste like bruschetta but was very good on pasta and Artichoke Antipasto which was great on pasta or pizza - especially
Gourmet Pizza!
I got these
Coconut Bliss ice-cream sandwiches at
Native Sun and although I thought the cookie part was a little too sweet they were actually pretty amazing. Around $4-5 they are a bit expensive, I think I tried them on sale but they are quite large so if you're not a total piggy like me then you can easily get 2-4 servings out of it.
Also at
Native Sun I found these
Jolly Llama Mint Choc Chip Ice-cream pops. I'm a huge sucker for mint chocolate ice-cream and these did not disappoint! Very delicious. The same brand also has other flavors and some sorbet pops.
So it seemed
Native Sun was just having a good ice-cream day because they also had some of the new So Delicious range and I tried the Peachy Maple Pecan which was soooo delicious! Get it? Get it? Ok. Tough crowd.
Now this is going to be quite a local find, sorry!
Native Sun had locally made (in Gainesville FL)
ArtMoro Black Bean Tempeh and let me tell you, it was really good. Beside being the same price as regular tempeh it's also twice the size so I got two good servings out of it. It was a bit softer than the other brands I've bought and had a slightly tangier flavor but I was a fan!
I am quite the fan of
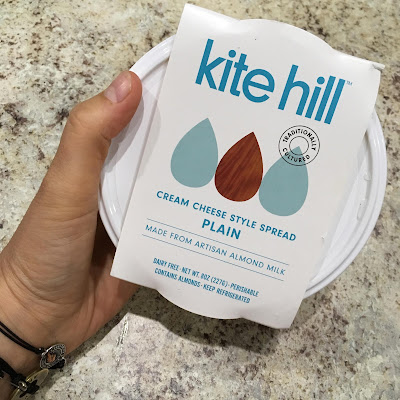
Kite Hill's yoghurt but this cream cheese was on par with Tofutti in my mind, So it wasn't bad, just not worth paying more than Tofutti.
I was completely devo when Wholefoods stopped carrying my Primal Vegan Jerky (since found it at the naval station commissary so all good). They had this
Louisville Vegan Jerky instead so I thought I'd try it. Now it was really really good BUT it was $7 a bag, and not a big bag so I'll definitely be looking out for it on sale but for your jerky cravings it will definitely hit the spot! It is amazing though, look out for WholeFood's sales - and if you have Amazon Prime sign into it on the WholeFoods app for an extra 10% off sale prices.
Native Sun (I think?) Had these
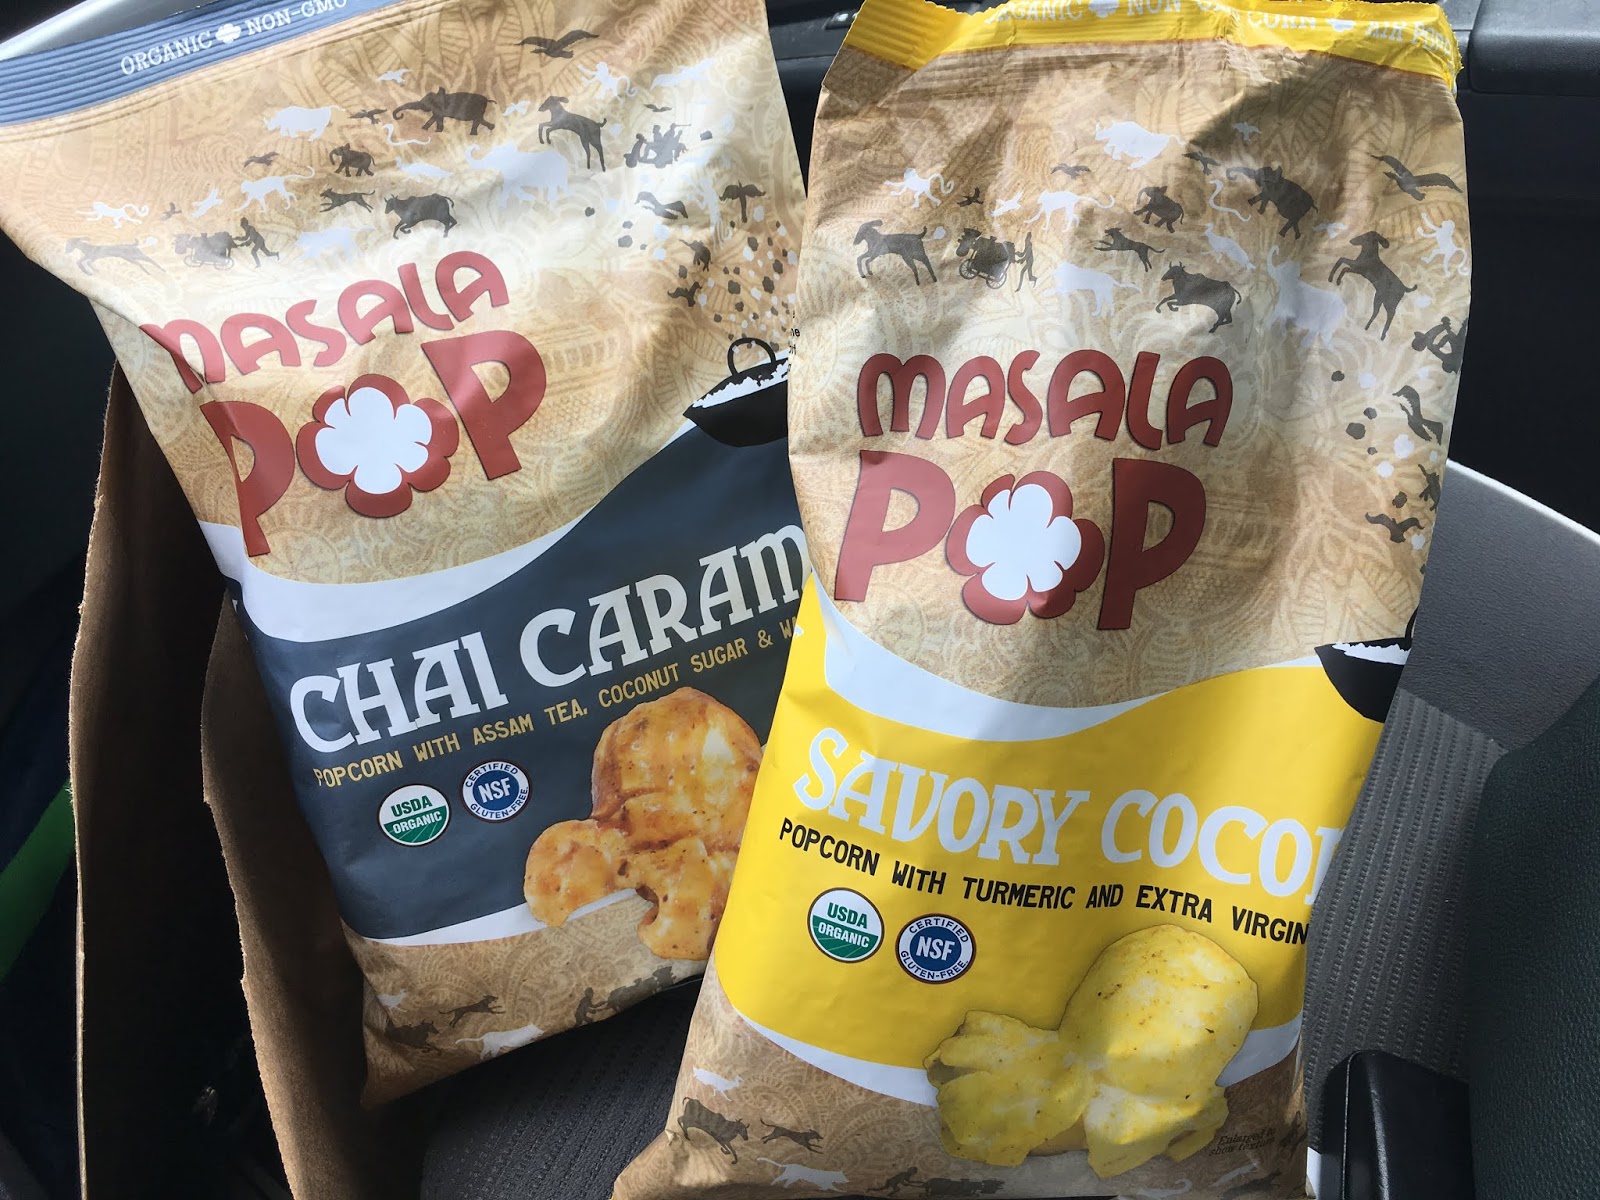
Masala Pop vegan popcorns on BOGO (buy one get one) so I had to try. The chai caramel was SO GOOD!!!! I mean vegan caramel popcorn, what else do I need to say! The savory coconut was good too, like plain salt popcorn but with a hint of coconut oil.
I got these
Skinny Sticks BBQ at my local discount store where I occasionally find awesome discounted vegan products to try! I LOVED these, really had that BBQ crisps taste but in a convenient stick form. LOL I don't even know what that means, it just sounded how they would sell it! Sadly haven't seen them again but they were good! Website says they are available in Walmart and Walgreens so I will definitely be keeping an eye out for new flavors! All are vegan and GF!
Another discount store find was
Super Eats Chipotle BBQ. They were a little spicy for me and I can handle medium amount of spicy. I'd like to try the White Cheddar!
Again discount store to the snacking rescue, this
Enjoy Life Plentils flavor I hadn't tried before. At least I don't think I have, who remembers? They were good though and I'd definitely have them again. Dill for life!!
Another discount store find, these
The Real Coconut coconut flour tortilla chips were interesting. I think they were going to be like corn chips but they were more like a wheat based tortilla chip and had a coconut taste to them. They weren't bad, I just couldn't find anything to go with them. Maybe Corn Dip?
Another discount store find, these
Farmhouse Culture Smoked Jalapeno chips were WAY to spicy for me and I made the mistake of trying them in the car with no water or means of escape. These were so spicy I couldn't eat them so if you're always complaining nothing's ever hot enough for your burnt out taste buds check these out now!!! I love their dill flavor!
I'm always on the look out for healthier options of GF pasta so this looked good. It tasted very strong - I mean maybe for a Asian noodle soup maybe but it wasn't good for pasta.
I always like finding vegan GF granola bars for snacks because they are so easy to keep in my bag for emergency. These
Enjoy Life are pretty decent, grainy and sweet but not too much.
Another discount find, this
Hilary's Ranch Chia salad dressing, I wasn't a fan. It was very watery and vinegary.
These
Betty Lou's PB&J Bars from the discount store were actually better than expected! Definitely not healthy but a fun treat!
I've had
Hail Merry before and it's raw treats so you have to take that into consideration before you try but these were pretty tasty.
I'm in love with
Trader Joe's cauliflower pizza crust! I feel like there must be a trick to baking it correctly so that it's crispy instead of soft but I haven't figured that part out yet. It tasted really good though!
These
Veggie Ring's were ok actually, they tasted like onion rings and the family liked them...definitely needs dipping sauce because you get that cauliflower after taste. They also come in butternut.
I was super excited when I saw these
Equal Exchange 55% cacoa chocolate chips! I love their 55% dark chocolate!
Found these
Hilary's Mediterranean Bites at commissary and they were pretty good, kind of like falafel!
I was actually looking for another brand when I found these Lucy's Snack'n Go Packs Chocolate Chip Cookies at Winn Dixies. LOVE that the are individual bags (I know it's terrible for the environment but good for no over snacking). They mini cookies and what I like most is that they are crunch,y, not soft, so perfect for dunking in my tea ;)
Most important till last! Found these
Glutenberg gluten free/vegan beers at Total Wine which I quite liked. The Canadian brewery also has a few seasonal launches such as stout which I'm dying to try!!!