I've been quite into the Edwardian period ever since reading the Anne of Green Gables book series by L.M. Montgomery as a child. I'm still in love with that book series but is there anything lovelier than those dresses??! I digress...I saw a YouTube video on Edwardian hair washing (with egg...ew) and then hairstyles and saw why all this time I wasn't able to get the acceptable level of puff in my Gibson Girl hairstyle! You need an Edwardian Hair Rat! So I decided to make one. As you do. When you're in isolation LOL
So I used what I had in my house already but obviously this would be a pretty quick trip to the fabric/craft store or online purchase to make what is a very cheap accessory to the all over look.


DIY Edwardian Hair Rat
What you need
Needle & Thread
Stocking or fabric that hair pins can go into
Batting or loose fabric pieces to fill
Optional
Fake (or real if you have it) hair that matches your own.
Liquid Cement glue
What to do
I cut my material in 28.5" x 5.5", how thick you want it depends on how high you want the puff and how long will depend on your head. Obviously if you're using a stocking you won't need to do this.
I used some brown felt I had leftover from last Halloween when I made Hobbit cloaks...seriously, this is why I never through out the extra fabric. It can come in handy the day you randomly decide you need an Edwardian Hair Rat LOL
Next fold the piece in half lengthwise, with the good side of the fabric on the inside if there is one.
Hand stitch across the long side and one short, leaving the second small open.

Turn it inside out so you have a tube.

Start feeding the batting or loose fabric into the tube until filled, leaving a small amount of fabric on the open end.

Feed the sewn end into the open end to create your circle and sew the pieces in place.
This can be the end of your hair rat if you have very long/thick hair but if you would like to add hair to it in case of spaces then this is what I did.

I had a fake hair piece from a halloween costume and it had the hair sewn at one side which was actually very helpful.

I had stitched the sewn part onto the bottom of the hair rat and then wrapped the hair around and glued the ends underneath with liquid cement.

I had to do it in batches and allow to dry before starting on the next one because it was very fiddly.
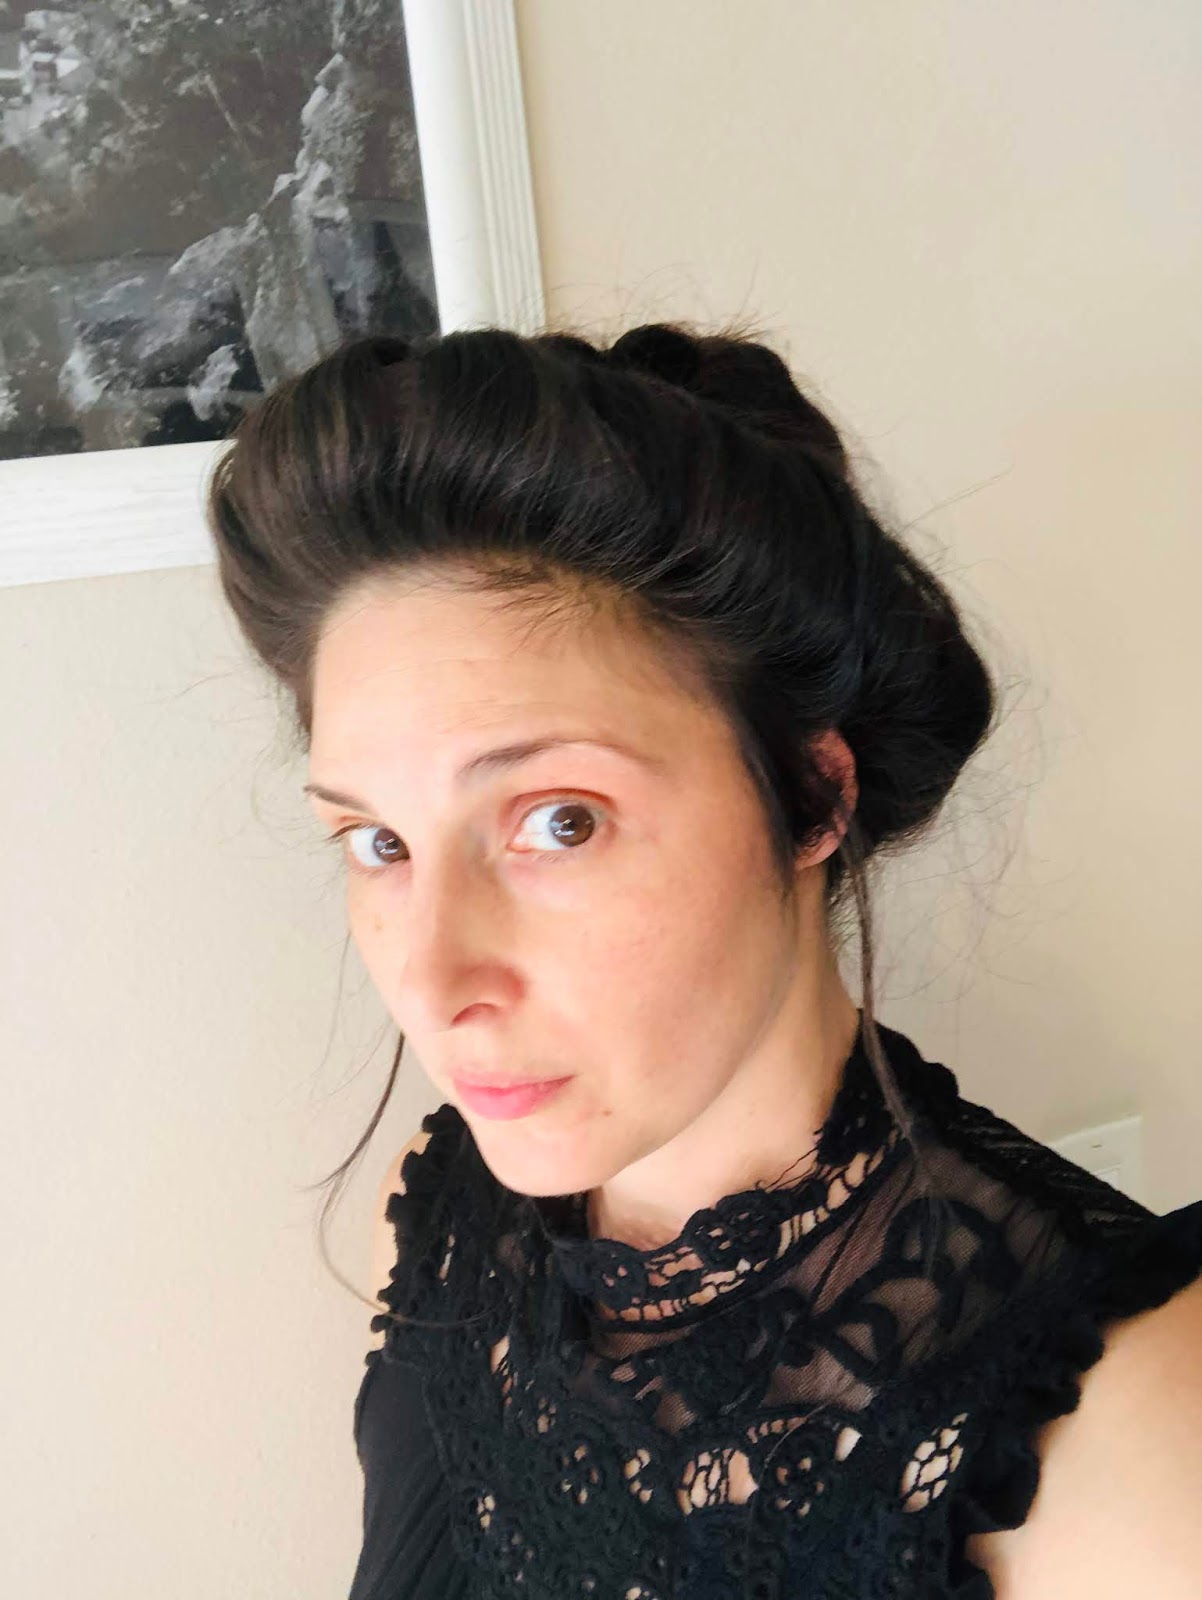
And here is the result! It doesn’t have as much give once you put the hair on so make sure it is slightly bigger if you use this step.

No comments:
Post a Comment
Feel free to message me!